Mobile Home Ceiling Panels: Fix Water Damage Fast
Water damage to mobile home ceiling panels is a common but frustrating problem that many homeowners face. When those telltale water stains or sagging sections appear overhead, it’s important to act quickly to prevent further damage and potentially costly repairs. This guide will walk you through everything you need to know about identifying, repairing, and preventing water damage to your mobile home ceiling panels.
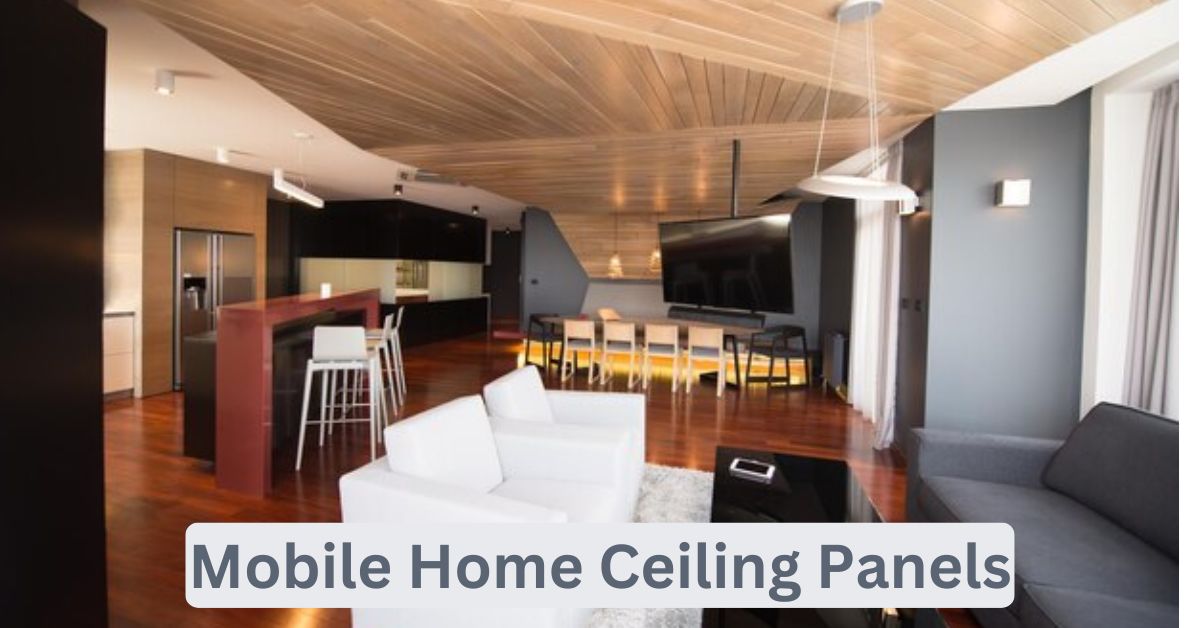
Understanding Mobile Home Ceiling Construction
Before diving into repairs, it’s helpful to understand what you’re working with. Mobile home ceiling panels are typically made from one of several materials:
- Gypsum board (similar to drywall but lighter)
- Vinyl-covered gypsum board
- Fiber panels
- Ceiling tiles
These mobile home ceiling panels are designed to be lightweight while providing some insulation and aesthetic appeal. Unfortunately, this lightweight construction also makes them particularly vulnerable to water damage.
Identifying Water Damage in Your Ceiling
Visual Signs
The first step in fixing water damage is knowing what to look for:
- Brown or yellowish stains
- Bubbling or peeling in the ceiling material
- Sagging sections
- Visible mold or mildew
- Warped or distorted panels
Source Detection
Before replacing any mobile home ceiling panels, you need to find and fix the source of the water:
- Check your roof for leaks, particularly around vents, seams, and skylights
- Inspect bathroom and kitchen plumbing above the damaged area
- Look for condensation issues in your attic space
- Check your air conditioning system for leaks or drainage problems
Quick Fixes for Minor Water Damage
If you’ve caught the damage early, you might be able to resolve it without full panel replacement:
Drying Techniques
- Use fans and dehumidifiers to thoroughly dry the affected area
- Remove any insulation that got wet and replace it once everything is dry
- Clean the area with a mild bleach solution to prevent mold growth
Spot Repairs
For small stains or minor damage:
- Clean the area with a bleach solution (1 part bleach to 10 parts water)
- Apply a stain-blocking primer
- Touch up with paint that matches your ceiling color
Replacing Damaged Mobile Home Ceiling Panels
For more extensive damage, you’ll need to replace the affected panels:
Materials You’ll Need
- Replacement ceiling panels (matching your existing material)
- Utility knife
- Measuring tape
- Screwdriver or drill
- Screws or nails
- Joint compound
- Putty knife
- Sandpaper
- Paint and primer
Step-by-Step Replacement Process
- Remove furniture and cover the floor beneath the work area
- Turn off electricity to any fixtures in the ceiling
- Remove any trim or molding around the damaged panel
- Cut out the damaged section, being careful not to damage surrounding panels
- Measure and cut your replacement panel to fit
- Secure the new panel with screws or nails
- Apply joint compound to seams and screw holes
- Sand smooth once dry
- Prime and paint to match your existing ceiling
Preventing Future Water Damage
An ounce of prevention is worth a pound of cure, especially when it comes to mobile home ceiling panels:
Regular Maintenance
- Inspect your roof twice a year and after major storms
- Check and maintain seals around vents, pipes, and other roof penetrations
- Clean gutters regularly to prevent water backup
- Monitor indoor humidity levels (ideally between 30-50%)
Ventilation Improvements
Proper ventilation can prevent condensation that leads to ceiling damage:
- Install bathroom and kitchen exhaust fans
- Use dehumidifiers in humid climates
- Ensure proper attic ventilation
- Consider adding roof vents if needed
Professional vs. DIY Repairs
While many mobile home ceiling panel repairs can be DIY projects, there are times when calling a professional makes sense:
When to DIY
- Small, isolated water stains
- Single panel replacement
- When you’ve successfully identified and fixed the water source
When to Call a Professional
- Multiple panels damaged
- Structural concerns
- Mold covering large areas
- If you can’t locate the source of the water
- When electrical wiring is involved
Conclusion
Water damage to mobile home ceiling panels doesn’t have to be a disaster if you act quickly and methodically. By promptly identifying the source of moisture, drying the affected area, and making necessary repairs or replacements, you can restore your ceiling to its former glory. Remember that prevention is key—regular inspections and maintenance can save you from dealing with water damage in the first place. With the right approach, your mobile home ceiling can remain beautiful and functional for years to come.
Frequently Asked Questions
How much does it cost to replace mobile home ceiling panels?
The cost varies depending on the material and extent of damage. For DIY repairs, you might spend $50-200 for materials. Professional replacement typically costs $300-1000 for a standard-sized room.
Can I paint over water stains on my ceiling?
Simply painting over water stains won’t work—the stain will bleed through. You need to first apply a stain-blocking primer, then paint with a matching ceiling paint.
How can I tell if there’s mold in my ceiling?
Look for discoloration (black, green, or brown spots), a musty smell, or allergy symptoms when in the room. If you suspect mold, consider testing kits or professional inspection.
Is water damage to mobile home ceiling panels covered by insurance?
It depends on your policy and the cause of damage. Sudden, accidental damage (like a burst pipe) is often covered, while gradual damage from neglected maintenance typically isn’t.
How long does it take for a ceiling to dry after water damage?
With proper ventilation and dehumidification, a ceiling might dry in 24-48 hours. However, complete drying can take up to a week depending on the extent of water saturation and environmental conditions.